A spring farro salad brings together everything that works this time of year—fresh herbs, crisp vegetables, and bright, citrusy dressing—into something that feels both light and satisfying. It’s substantial enough to hold its own as a main, but just as useful as a side alongside simple proteins or grilled dishes.
What makes this salad especially practical is how well it holds. The farro provides structure, the vegetables add texture, and the herbs keep everything feeling fresh. It’s the kind of dish you can make ahead and return to over a few days, with the flavors settling and improving as it sits.
Why Farro Works So Well
Farro is particularly well suited for salads because of its texture. It cooks up tender but retains a pleasant chew, which gives the salad substance without feeling heavy. Unlike softer grains, it doesn’t break down or become mushy once dressed, so it holds its shape even after sitting in the refrigerator.
Its mild, slightly nutty flavor also makes it a strong base for spring ingredients. It absorbs dressing easily, picking up brightness from lemon and richness from olive oil, while still allowing herbs and vegetables to stand out. It can be served warm, at room temperature, or chilled, making it flexible depending on how and when you’re serving it.
Key Ingredients & Their Roles
The strength of this salad comes from how each component contributes something different. Farro forms the base, offering both texture and a neutral backdrop for the other ingredients.
Fresh herbs are central to the overall flavor. A mix of parsley, dill, mint, and chives brings brightness and complexity, keeping the salad from feeling too earthy or dense. Using a combination rather than a single herb creates a more layered result.
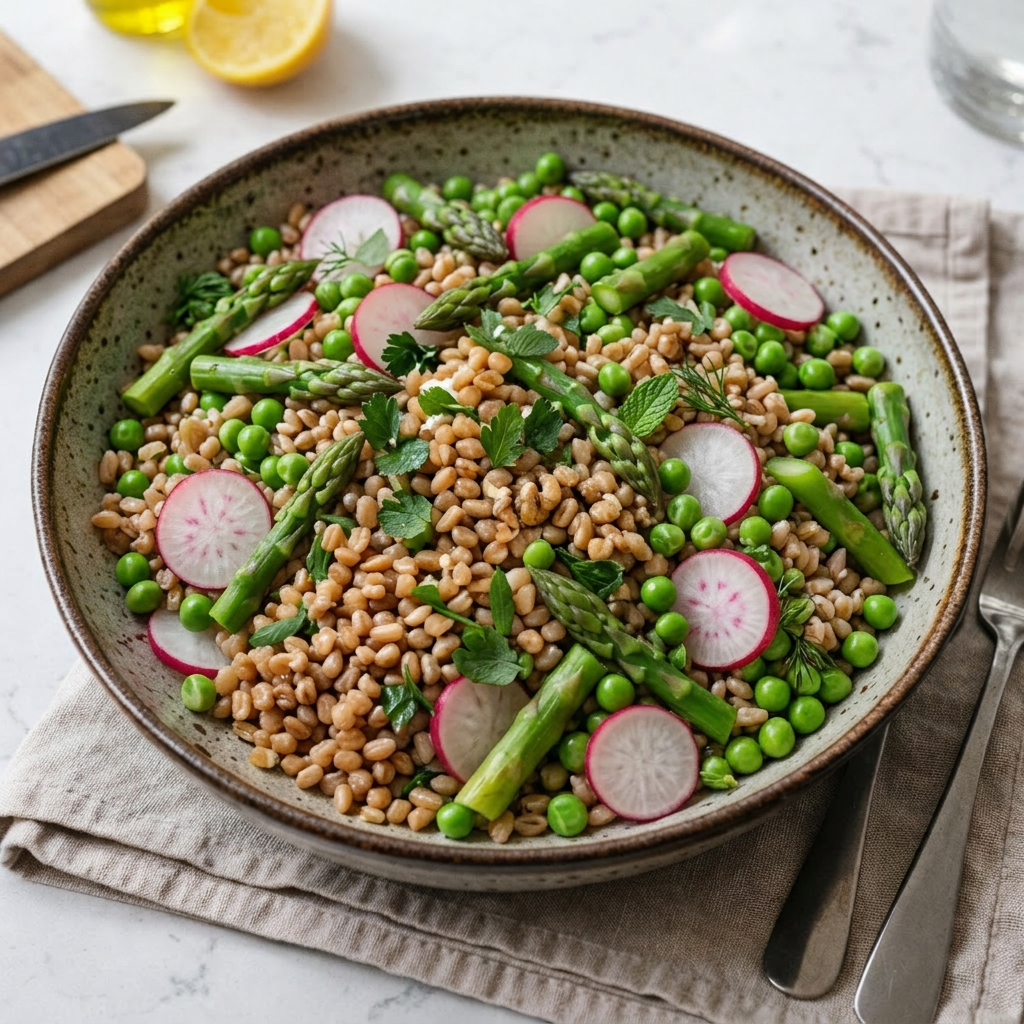
Spring vegetables add contrast and color. Asparagus and peas bring sweetness and a slight snap, while radishes or cucumber introduce a crisp, refreshing element. Lemon juice and zest provide acidity, balancing the richness of the olive oil and tying everything together.
Optional additions like feta or toasted nuts can round out the salad, adding creaminess or crunch depending on what you prefer.
Cooking Farro Properly
Cooking farro well is key to the final texture of the salad. It should be tender but still slightly chewy, not soft or mushy. The easiest method is to cook it in a pot of salted water, similar to pasta, which allows you to control doneness without worrying about exact liquid absorption.
Start by rinsing the farro, then simmer it in generously salted water until it’s cooked through but still has some bite. This usually takes about 20–25 minutes, depending on the type of farro. Once done, drain it well and let it cool slightly.
Dressing the farro while it’s still a bit warm helps it absorb flavor more effectively, giving the final salad a more cohesive taste.
Building a Balanced Farro Salad
A good farro salad depends on balance, both in flavor and in texture. The farro should be complemented, not overwhelmed, by the vegetables and herbs. A generous amount of herbs helps keep the salad feeling fresh, while a mix of tender and crisp vegetables adds contrast.
Seasoning in layers also makes a difference. The farro should be lightly salted as it cooks, and the dressing should be adjusted before it’s added. Tossing everything together while the grain is slightly warm allows the flavors to distribute evenly.
Before serving, it’s worth tasting and adjusting. A bit more lemon juice or salt can bring the entire dish into focus, especially after it has had time to sit.
Spring Farro Salad
Makes 4-6 servings
Ingredients
- 1 cup farro
- Salt
- 1/2 pint cherry tomatoes, halved
- 1/2 cucumber, diced
- 1/4 cup chopped fresh parsley
- 2 tbsp chopped fresh dill
- 2 tbsp chopped fresh mint
- 2 tbsp chopped chives
For the Dressing:
- 3 tbsp olive oil
- 2 tbsp lemon juice
- 1 tsp lemon zest
- Salt and freshly ground black pepper
Optional:
- 1/3 cup crumbled feta cheese
- 1/4 cup toasted almonds or pistachios
Instructions
- Bring a pot of salted water to a boil. Add the farro and cook for 20–25 minutes, until tender but still slightly chewy. Drain well and let cool slightly.
- Blanch the asparagus in boiling water for 2–3 minutes until just tender, then transfer to cold water to stop the cooking. Drain well. If using frozen peas, thaw them; if fresh, blanch briefly until tender.
- In a small bowl, whisk together olive oil, lemon juice, lemon zest, salt, and pepper.
- In a large bowl, combine the farro, asparagus, peas, radishes (or cucumber), and herbs.
- Pour the dressing over the salad and toss to combine while the farro is still slightly warm.
- Taste and adjust seasoning. Add feta and nuts if using. Serve warm, at room temperature, or chilled.
Variations & Add-Ons
This salad adapts easily depending on what you have available. Adding chickpeas or grilled chicken can turn it into a more substantial main, while salmon pairs particularly well with the lemon and herbs.
The vegetables can shift with the season: snap peas, green beans, or even roasted vegetables can work in place of asparagus. Herbs can also be adjusted depending on preference; more dill will give it a slightly sharper edge, while mint adds freshness.
For a richer version, a bit more cheese or a drizzle of extra olive oil can round things out, while additional lemon keeps it bright and balanced.
How to Serve
This salad works in a variety of settings. It pairs naturally with grilled meats or fish, but it can also stand alone as a light meal. Because it holds well, it’s a strong option for lunches, picnics, or casual gatherings.
Serving it at room temperature often brings out the best flavor, though it can be chilled if needed. A final squeeze of lemon just before serving can help refresh it, especially if it’s been stored.
Storage & Make-Ahead Tips
Farro salad stores well in the refrigerator for several days, making it ideal for preparing ahead. The flavors tend to deepen as it sits, though the herbs may soften slightly over time.
If making it in advance, you can reserve some of the herbs and add them just before serving to keep the flavor bright. A small splash of lemon juice or olive oil can also help revive the texture if it feels dry after chilling.
Troubleshooting
If the farro is too firm, it likely needs a few more minutes of cooking. If the salad feels dry, an extra drizzle of dressing will bring it back together. A lack of flavor is often solved with a bit more salt or acidity.
If the herbs lose their brightness, adding a fresh handful just before serving can restore the balance. Small adjustments at the end make a noticeable difference in a simple dish like this.
A spring farro salad brings together simple ingredients in a way that feels complete and adaptable. It’s easy to prepare, holds well, and can shift depending on what you have available.
Once you’ve made it a few times, it becomes a flexible base—something you can return to and adjust without much effort, making it a useful addition to everyday cooking.


Leave a Reply