
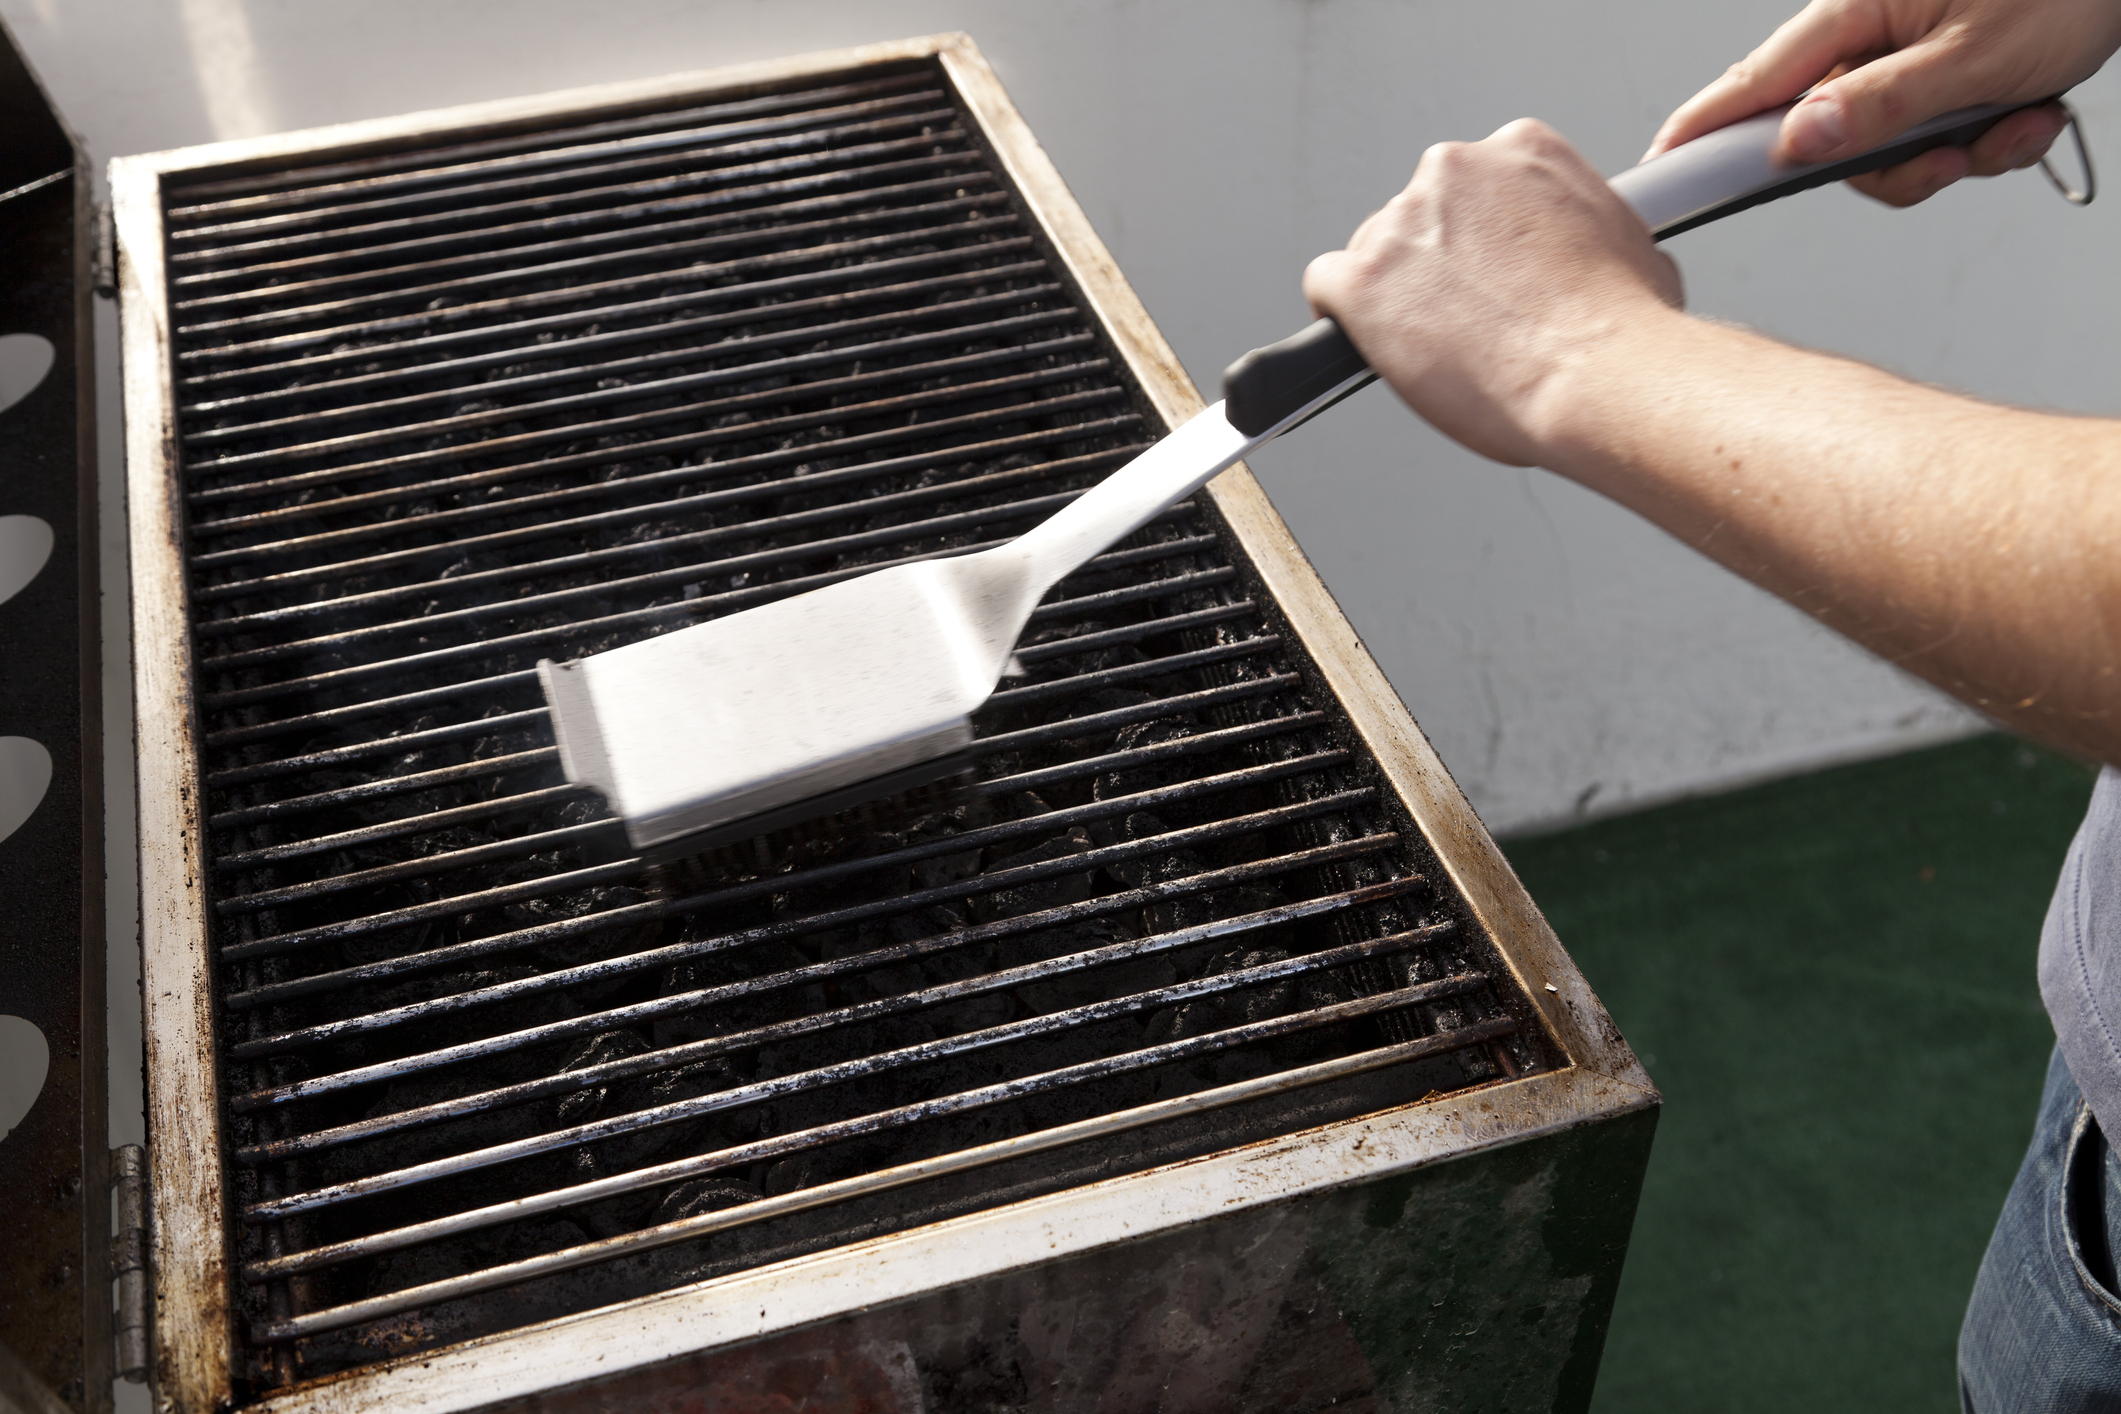
Grilling is one of summer’s greatest pleasures. But a dirty grill? Not so much. Burnt-on bits, grease buildup, and leftover ash can affect the flavor of your food and even pose a fire risk. The good news? With just a little effort, your grill can be cooking and looking like new.
Learning how to clean your grill isn’t just about appearances. A clean grill cooks more evenly, produces better-tasting food, reduces flare-ups, and can even extend the life of your investment. Grease buildup and leftover food residue can create unpleasant flavors, while accumulated grease becomes a potential fire hazard. Regular maintenance also helps prevent rust and keeps moving parts working properly.
Whether you own a gas grill or a charcoal grill, setting aside an hour or two for a thorough cleaning at the beginning of grilling season—and performing quick cleanups after each use—will keep your grill performing its best all summer long.
What You’ll Need
Before you begin, gather your cleaning supplies:
- Grill brush (wire or bristle-free) or grill stone
- Dish soap or grill degreaser
- Bucket of warm, soapy water
- Sponge or microfiber cloth
- Paper towels or old rags
- Aluminum foil
- Baking soda
- White vinegar
- Plastic putty knife or scraper (optional)
- Disposable gloves (optional)
How to Deep Clean a Charcoal Grill
Charcoal grills develop a flavorful seasoning over time, but too much ash and grease can interfere with airflow, affect cooking temperatures, and shorten the life of the grill. A deep cleaning removes buildup while keeping the grill ready for your next barbecue.
1. Remove Ash and Leftover Charcoal
Ash is surprisingly corrosive because it traps moisture, so don’t let it sit in the bottom of your grill for long periods.
Let the grill cool completely before cleaning. Remove any leftover charcoal and scoop out accumulated ashes. A shop vacuum works well for removing fine ash dust, or simply use a small brush and dustpan.
2. Soak and Scrub the Grill Grates
Remove the cooking grates and soak them in a bucket of warm water mixed with dish soap for 20 to 30 minutes. After soaking, scrub both sides using a grill brush, scrub pad, or grill stone to remove baked-on grease and food particles. Rinse thoroughly and dry completely before returning them to the grill.
3. Clean the Grill Bowl and Lid
Using a plastic scraper or grill brush, scrape away loose grease, soot, and carbon buildup from the inside of the grill bowl and lid. Don’t worry about removing every bit of discoloration. The dark coating inside the lid is mostly carbon from smoke and isn’t harmful. Focus on removing flaky buildup that could fall onto your food. Wipe everything clean with a damp microfiber cloth.
4. Remove Stubborn Grease
If you find sticky grease or stubborn residue, spray the area with a mixture of equal parts white vinegar and water or apply a paste made from baking soda and water. Allow it to sit for 10 to 15 minutes before scrubbing clean.
5. Wash the Exterior
Finish by washing the outside of the grill with warm, soapy water and a soft cloth. Dry thoroughly to help prevent rust and water spots.
How to Deep Clean a Gas Grill
Gas grills collect grease in areas you don’t always see, making periodic deep cleaning essential for both performance and safety.
1. Turn Off the Gas
Before cleaning, ensure every burner control is turned off. Disconnect the propane tank or shut off the natural gas supply. Never clean a gas grill while it’s connected to fuel.
2. Remove the Grates and Heat Deflectors
Lift out the cooking grates along with the flame tamers or heat deflector plates underneath. Place them in warm, soapy water to soak while you clean the rest of the grill.
3. Scrub the Grill Grates
Once soaked, scrub the grates thoroughly with a grill brush or heavy-duty scrubbing pad. For stubborn buildup, coat the grates with a baking soda and water paste. Let it sit for several minutes before scrubbing again. Rinse and dry completely.
4. Clean the Burners
Carefully wipe the burner tubes with a damp cloth. If any burner ports become clogged with grease or debris, gently clear them using a toothpick or straightened paperclip. Avoid using anything that could enlarge the openings, as this may affect the flame pattern.
5. Scrape the Firebox
Grease naturally collects in the bottom of the grill beneath the burners. Use a plastic putty knife or scraper to loosen grease and debris, then wipe everything clean with paper towels or a damp cloth. If your grill has a removable grease tray, empty and wash it before reinstalling.
6. Clean the Exterior
Wash the outside of the grill using warm, soapy water and a soft sponge. For stainless steel grills, use a cleaner designed for stainless steel or simply wipe with white vinegar followed by a dry microfiber cloth for a streak-free finish.
7. Reassemble and Burn Off Residue
Reinstall all components and reconnect the gas supply. Turn the burners to high with the lid closed for about 10 minutes. This burn-off removes any remaining cleaning residue and ensures the grill is ready for cooking. Allow the grill to cool before handling.
How to Quickly Clean a Gas Grill Between Cookouts
Not every grilling session requires a deep clean. A simple maintenance routine after cooking keeps grease from building up and makes future cleanings much easier.
1. Heat the Grill
Close the lid and turn all burners to high. Allow the grill to heat for 10 to 15 minutes. The high heat burns leftover food particles into ash, making them easier to remove.
2. Brush the Grates
While the grates are still hot, carefully brush them clean using a grill brush or grill stone. Wear heat-resistant gloves and brush away from yourself for added safety.
3. Lightly Oil the Grates
Once the grill has cooled slightly, wipe the grates with a paper towel lightly coated in a neutral cooking oil such as canola or avocado oil. This helps prevent food from sticking and adds a protective layer against rust.
Keep in mind: This quick cleaning method helps maintain your grill throughout the season, but it doesn’t replace a full deep cleaning every few months.
Grill Maintenance Tips for Better Performance
Keeping your grill clean doesn’t require a major effort if you stay on top of routine maintenance.
- Brush the cooking grates after every use while they’re still warm.
- Empty charcoal ash after each grilling session to prevent moisture damage and rust.
- Clean grease trays regularly to reduce flare-ups and fire hazards.
- Lightly oil grill grates before cooking to reduce sticking.
- Cover your grill whenever it’s not in use to protect it from rain, dirt, pollen, and UV damage.
- Perform a thorough deep cleaning at least twice each grilling season—or more often if you grill several times a week.
Frequently Asked Questions
How often should you deep clean a grill?
For most households, a thorough cleaning at the beginning and middle of grilling season is enough. If you grill multiple times each week, plan to deep clean every one to two months.
Can you use oven cleaner on grill grates?
It’s generally best to avoid oven cleaner unless the manufacturer specifically recommends it. Warm soapy water, baking soda, vinegar, and a grill-safe degreaser are safer choices for most grill surfaces.
Should you clean grill grates while they’re hot or cold?
Routine brushing is easiest when the grill is still warm because food residue comes off more easily. For deep cleaning, remove the grates and allow them to cool before soaking and scrubbing.
What’s the best way to remove stuck-on grease?
Soaking grill grates in warm, soapy water followed by a baking soda paste is one of the safest and most effective ways to remove stubborn grease without damaging the finish.
A Little Maintenance Goes a Long Way
A clean grill doesn’t just look better—it cooks better, lasts longer, and makes every meal more enjoyable. Whether you’re grilling burgers for a weeknight dinner or hosting a backyard barbecue for family and friends, spending a little time on regular grill maintenance pays off with better flavor, fewer flare-ups, and less frustration.
Think of grill cleaning as part of the cooking process rather than a chore. A few minutes after each cookout and a couple of deep cleans each season will keep your grill ready whenever the craving for smoky, flame-kissed food strikes. Your future self—and your guests—will thank you.



Leave a Reply